Taming the Beast: Controlling the Studio’s Sound with Absorber Panels
- Nic Tassone

- Jun 7, 2025
- 4 min read
In the last post, I explained how I decided where to set up my speakers and mixing location. With this foundation, I can start planning sound treatment around the rest of the room. One of my priorities in treating this room is to not lose too much of its liveliness. I’ve always recorded in carpeted living rooms and bedrooms, and I’m very excited to have a more reverberant space now. The thing is, a lively space is great for recording but not great for mixing.

Covering a lot of the back wall with diffusers was the first step in controlling the room’s sound without adding any absorption yet. But now the time has come to start absorbing some of the reflections in the room. When working on a mix, you need to clearly hear what’s coming out of the speakers, not how the room is reacting to the sound waves. Adding in the area rug under the mixing location and the drum rug on the other side of the room helped to soak up some of the reflections but here’s where a lot of people go wrong with treating rooms - absorbing low frequencies is at least as important as high frequencies, and carpet/rugs won’t do the trick. And to be honest, neither will those 1” thick studio foam panels you see all over the place.
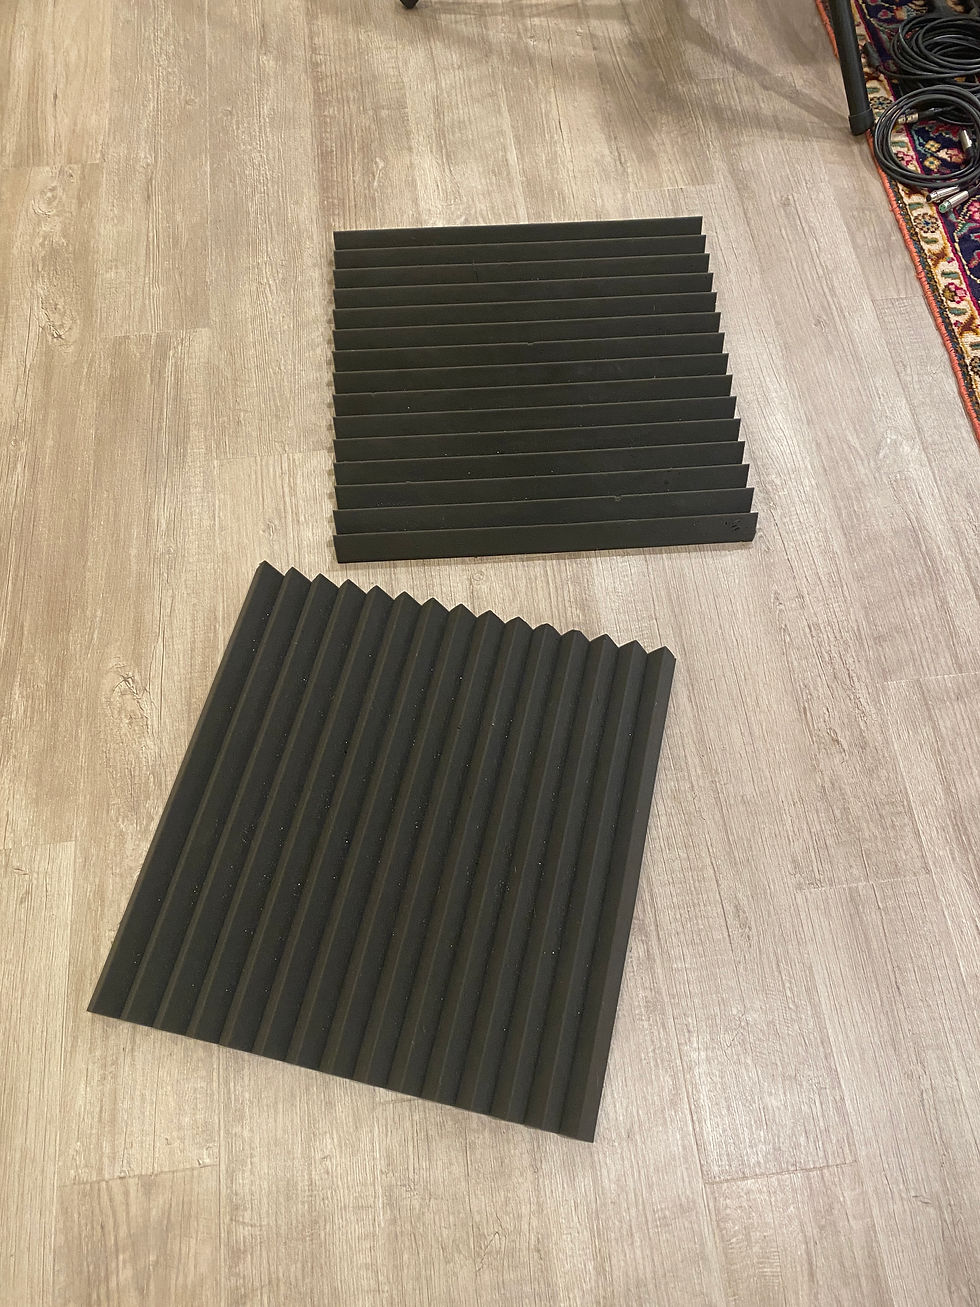
Here’s some easy math for you - absorber panels will help absorb frequencies depending on how thick the panel is. The panel’s depth corresponds to ¼ the wavelength of the lowest absorbed frequency. If the foam is 1” thick, the corresponding wavelength is 4” and if you use this calculator, you’ll see that the lowest frequency is 3,376 Hz. If you increase the foam’s depth to 2”, you can get absorption down to 1,688 Hz. Human ears are especially sensitive to sounds in the 2k-5k Hz range, which is also an important frequency range for the human voice. So when you add these thin foam panels to a room, and then test the room’s sound by talking/singing/clapping, you’re gonna think you hear a big difference because you’re only listening to the frequency range that is being addressed by these panels. Try playing a drum kit or plugging in a bass guitar and see how much the thin foam panels do then.
Compound this ineffective foam with the fact that bass frequencies are far more problematic in most rooms, and you can see how just adding more thin foam panels won’t really help. My aim in this room is to target the lower frequencies first. This will help make sure I’m not adding too much absorption to the room. As I add more bass absorption to the room, higher frequencies will naturally be absorbed as well, but remember, I want to keep the room somewhat lively. It would be great if I could absorb all the way down to the bottom of the audible frequency range, but unfortunately it’s just not practical. Let’s consider a kick drum that has it’s fundamental frequency at 100 Hz. Using the same calculator from above, you’ll see that it’s wavelength is 12.25 ft meaning the absorber panel would need to be about 3 feet thick… We’ll just have to accept that we’ll never absorb the deeper bass frequencies.

The first absorber panels installed in the studio were the two ‘clouds’ located above the mixing area. These are filled with 4” thick Safe’n’Sound Rockwool insulation. Using that calculator again, these panels are effective down to about 844 Hz. I’ll admit these aren’t doing a whole lot for the bass end, but they’re also not placed in the most relevant spot for bass frequency build-up. Their placement is key, though! Think about how sound arrives at your ears when you’re standing out in nature. The sky above you isn’t going to reflect any sound down to you, but you will get some sound reflecting off the ground back up to your ears. But in a room, you get the opposite effect - carpet on the ground absorbs some sound, and hard ceilings reflect sound back down to you. By adding these ‘cloud’ absorbers, it helps the room sound a little more natural. Another more practical benefit is that they don’t take up any usable space in the room. They’re located just a bit in front and behind where I sit to mix, so they will absorb sound from the speakers bouncing off the ceiling in front of me, and if I’m tracking drums in the back of the room, the ceiling reflections will be absorbed behind me. If I am overdubbing vocals, I can stand them under one of the clouds to reduce the boxiness/ringing that comes from recording close to reflective surfaces.
Two carefully placed cloud absorber panels have greatly tamed the sound on the mixing side of the studio. The next areas that need treatment are the two reflection points on the left/right side of the mixing position, and the corners, where bass frequencies build up.
Comments